Flameshot - Screenshot Like A Pro
If you take screenshots often, whether for bug reports, documentation, tutorials, or quick sharing - Flameshot is one of those tools that quietly becomes indispensable once you start using it.
Flameshot is a free, open-source screenshot utility best known in the Linux community, but also available on Windows and macOS. At its core, it does one thing extremely well: it lets you capture screenshots quickly, then edit and annotate them instantly, without jumping between multiple apps.
There are plenty of videos out there explaining the benefits of Flameshot, so I’ll simply leave a link here for you to check out link. The goal of this article is to help you get Flameshot up and running on your Ubuntu machine, specifically Ubuntu 24.04, which is the latest version at the time of writing.
Installation
First off, I wouldn’t recommend installing Flameshot via apt, snap or even nix. Screenshot tools require certain permissions, and in my experience, I was only able to get everything working reliably using Flatpak. So that’s what we’ll use here.
Flatpak is a universal Linux packaging system that lets applications run the same way across different distributions by bundling their dependencies instead of relying on system libraries. It also uses sandboxing to improve security and reliability while making apps easier to install and update.
Let’s install it:
1
sudo apt install flatpak
Next, download the latest flameshot release from the official GitHub releases page: https://github.com/flameshot-org/flameshot/releases
Download the version that matches your system, then run the following commands. Make sure to replace the version number with the one you downloaded:
1
2
cd ~/Downloads
flatpak install org.flameshot.Flameshot-13.3.0.x86_64.flatpak
If this is your first time using flatpak, it may take a while to download the required runtime dependencies before flameshot can be installed. Just be patient.
Post Installation
Once flameshot is installed, you’ll need to grant it permission to take screenshots:
1
flatpak permission-set screenshot screenshot org.flameshot.Flameshot yes
To start flameshot, run:
1
flatpak run org.flameshot.Flameshot
To immediately take a screenshot:
1
flatpak run org.flameshot.Flameshot gui
Shortcuts
If you prefer a shorter, more familiar command, you can create a symbolic link:
1
ln --symbolic /var/lib/flatpak/exports/bin/org.flameshot.Flameshot ~/.local/bin/flameshot
This allows you to use flameshot like a regular command-line tool:
1
2
3
4
5
# start flameshot
flameshot

# take a screenshot
flameshot gui
You can also set up a GNOME keyboard shortcut to quickly trigger flameshot.
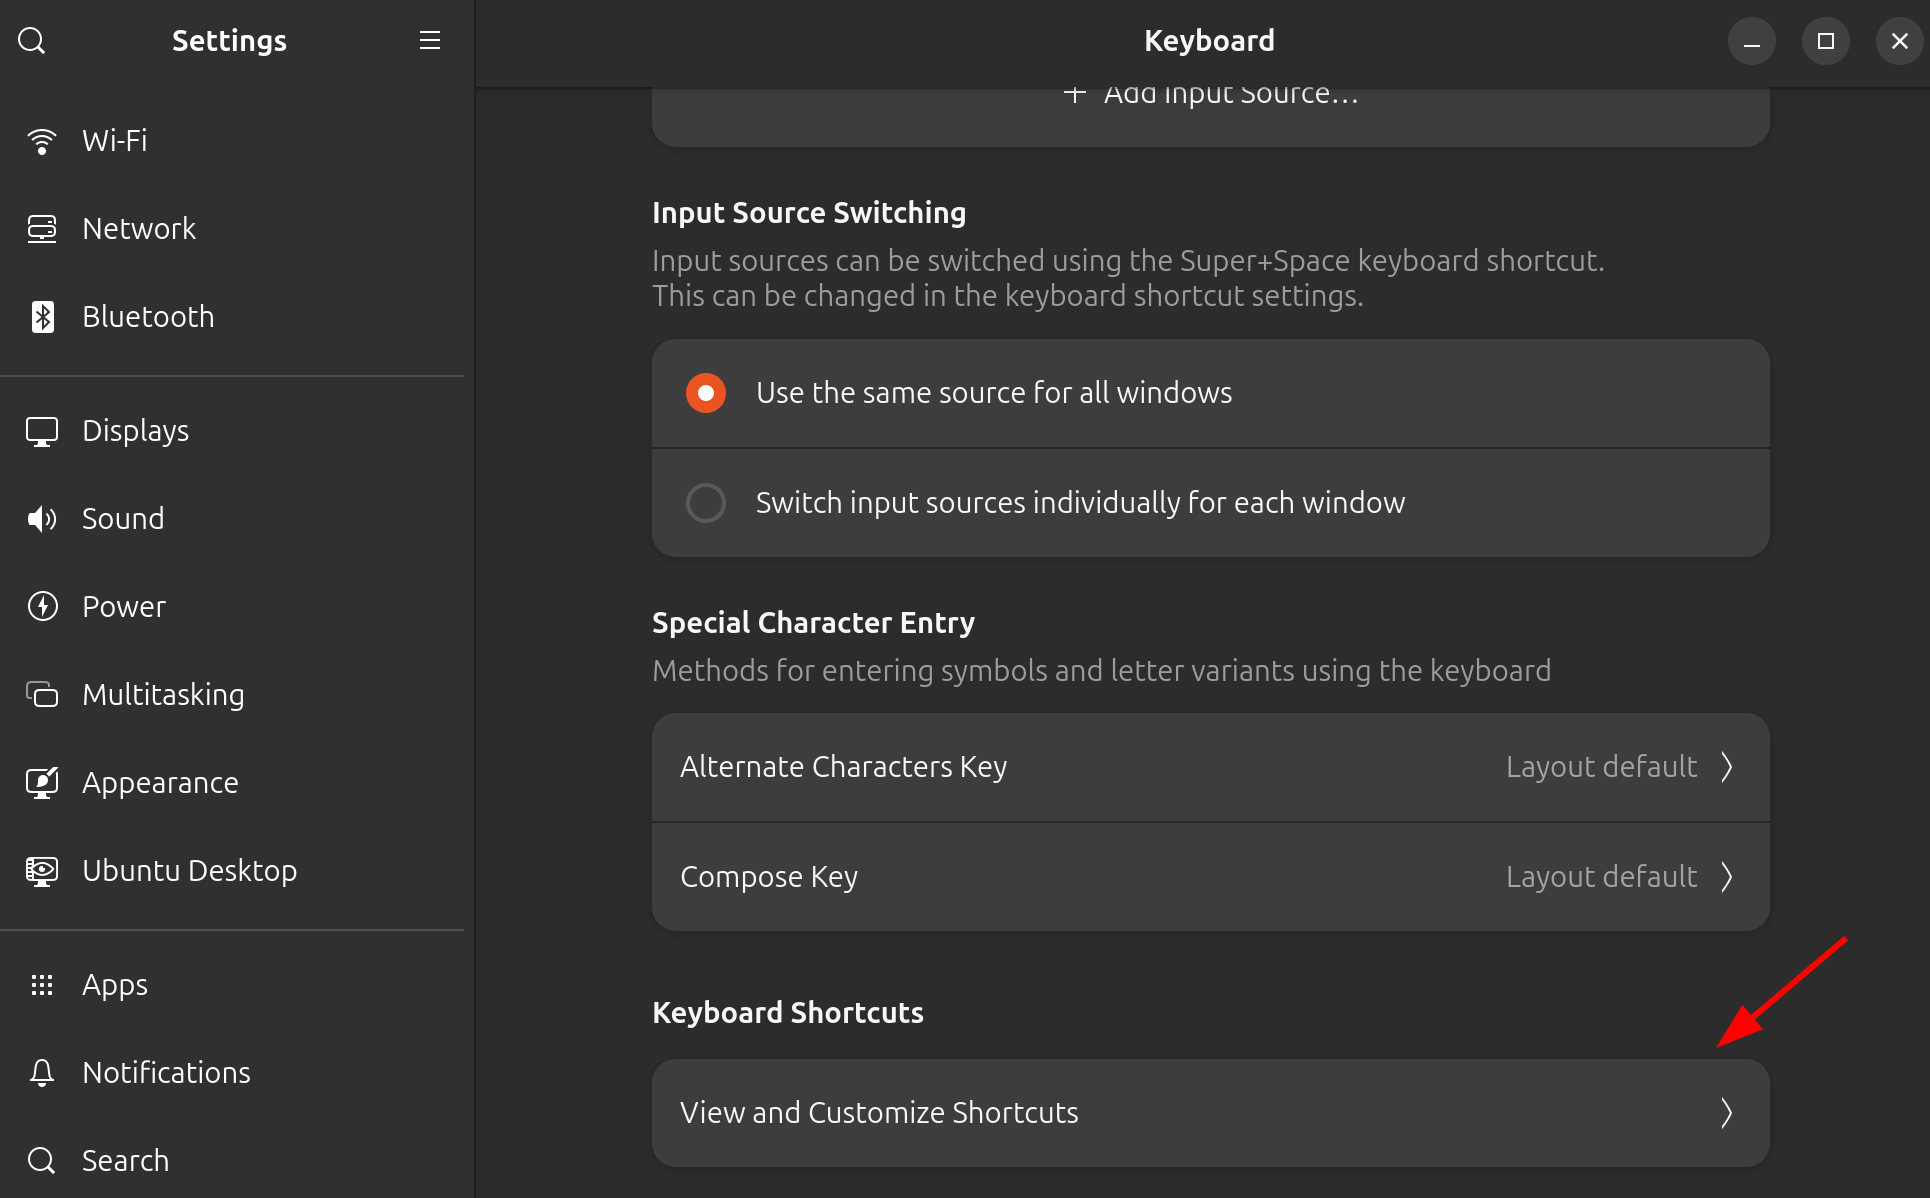
First, open the keyboard shortcut settings:
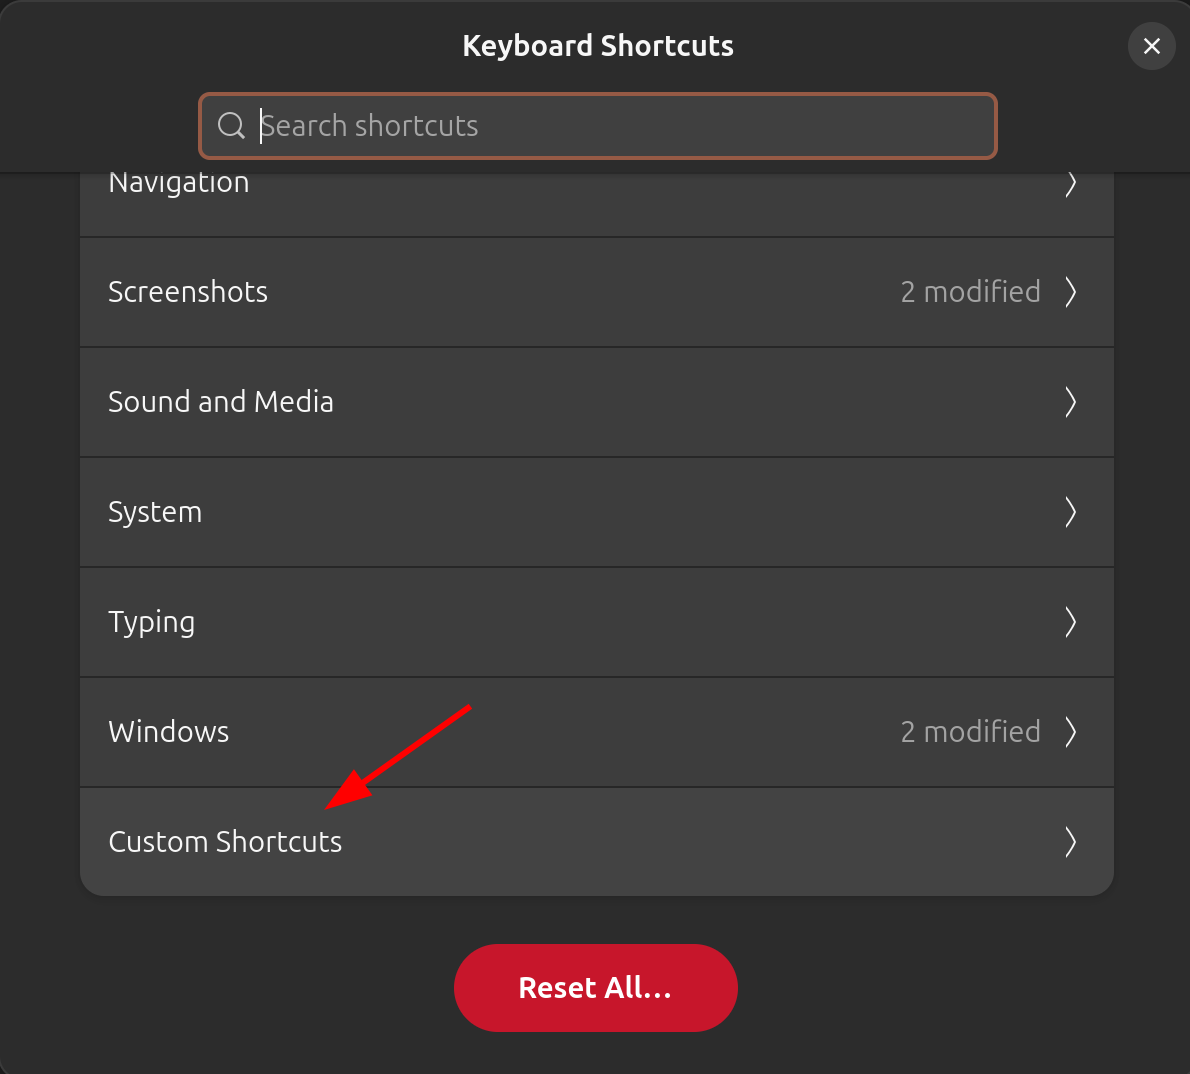
Scroll all the way down and select Custom Shortcuts:
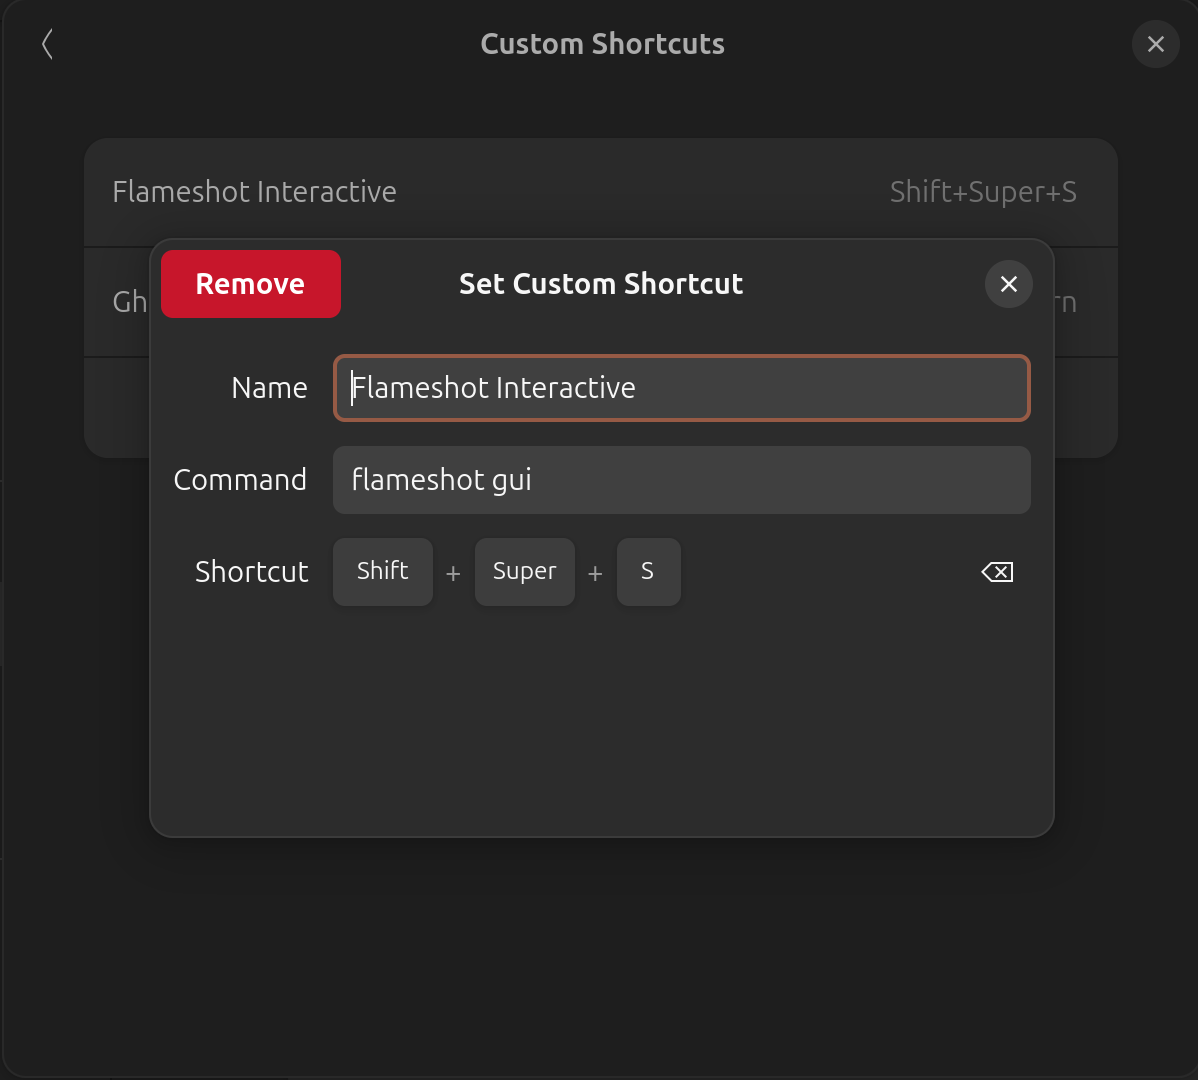
Configure your flameshot shortcut like this. Keep in mind that doing so will disable the original screenshot shortcut:
Summary
Well, flameshot is a fast, lightweight, and highly practical screenshot tool that fits naturally into a Linux workflow. Hopefully, this article helps you avoid some of the pitfalls I encountered while getting flameshot up and running. With that, you’ve just leveled up your daily screenshot workflow, until next time, keep learning and growing!